
How to install and configure Grafana with SSL HTTPS in Debian
Grafana is an open source tool which allows you to query, visualize, alert on and understand your metrics no matter where they are stored. It enables you to easily create, explore, and share dashboards with your team and foster a data-driven culture.
Grafana which is a multi-platform open source monitoring tool.
Grafana provides a lot of complex monitoring dashboards depending on the connected data sources.
What is new in Grafana?
- Library panels: Allow users to build panels that can be used in multiple dashboards
- Prometheus metrics browser: Allows you to quickly find metrics and select relevant labels to build basic queries.
- Grafana alerts: Centralizes alerting information for Grafana managed alerts and alerts from Prometheus-compatible data sources in one UI and API.
- Real-time streaming: Data sources can now send real-time updates to dashboards over a websocket connection
- Bar chart visualization: A new visualization that supports categorical data
- Histogram visualization: This hidden feature of the old Graph panel is now a standalone visualization
- State timeline visualization: The State timeline visualization shows discrete state changes over time
- Time series visualization out of Beta and is now graduating to a stable state
- Download logs: When you inspect a panel, you can now download log results as a text (.txt) file.
Step 1. Update system packages and install some Grafana requirements.
apt-get update
apt-get install -y apt-transport-https
apt-get install -y software-properties-common wget
Step 2. Add Grafana’s GPG key.
wget -q -O - https://packages.grafana.com/gpg.key | apt-key add -
Step 3. For stable releases add the following repo:
echo "deb https://packages.grafana.com/oss/deb stable main" | sudo tee -a /etc/apt/sources.list.d/grafana.list
Step 4. Grab latest changes and install Grafana.
apt-get update
apt-get install grafana
Step 5. To verify installation and Grafana version, run:
grafana-cli -v
grafana-server -v
Output:
Grafana CLI version 8.2.3
Version 8.2.3 (commit: fb85ed6912, branch: HEAD)
Ensure the service is set to run on boot.
systemctl enable grafana-server
For CentOS 7, check: How to Install Grafana on CentOS 7
Step 3: Access Grafana UI on Debian 11/10/9
Once the service has been started, you can access its web dashboard by visiting the server IP on port 3000.
If you have an active firewall, mostly ufw, allow port 3000 on the firewall.
ufw allow proto tcp from any to any port 3000
Now open your browser and enter server IP address and port 3000.
Default logins are:
Username: admin
Password: admin
But you’re required to change immediately after authenticating.
Grafana Package details:
-
Installs binary to /usr/sbin/grafana-serverInstalls Init.d script to /etc/init.d/grafana-server
-
Creates default file (environment vars) to /etc/default/grafana-server
-
Installs configuration file to /etc/grafana/grafana.ini
-
Installs systemd service (if systemd is available) name grafana-server.service
-
The default configuration sets the log file at /var/log/grafana/grafana.log
-
The default configuration specifies a sqlite3 db at /var/lib/grafana/grafana.db
-
Installs HTML/JS/CSS and other Grafana files at /usr/share/grafana
The systemd service file and init.d script both use environment vars on the file located at /etc/default/grafana-server.
Here is a quick guide to configuring a self-signed SSL certificate in Grafana, allowing you to browse to:
https://your_server:3000
What is Grafana?
If you need monitoring dashboards, using Grafana and Prometheus will give you a great solution.
Check out https://grafana.com and https://prometheus.io to start your Journey.
Grafana SSL
SSL is not installed by default when using the free, self-hosted community edition. If you purchase the cloud version, then SSL is configured automatically by default. You will need sudo access to the servers /etc/grafana/grafana.ini file. Look for the HTTP options:
HTTP options
There are two key fields that need changing in the Grafana.ini file:
[server]
http_addr = dashboard.yourdomain.co.uk
http_port = 3000
domain = yourdomain.co.uk
root_url = https://grafana.yourdomain.co.uk:3000
cert_key = /etc/grafana/grafana.key
enforce_domain = False
protocol = https
socket =
enable_gzip = False
cert_file = /etc/grafana/grafana.crt
static_root_path = public
router_logging = False
Step 1 – Create an SSL Certificate
I am using Red Hat Linux, but this will work on CentOS as well. You may need to check your appropriate documentation if you are using another flavor of Linux.
From the command line type:
openssl genrsa -out grafana.key 2048
You should see output like this:

Step 2 – Generate a certificate signing request
From the command line type:
openssl req -new -key grafana.key -out grafana.csr
You should see output like this:

Step 3 – Output the certificate
From the command line type:
openssl x509 -req -days 365 -in grafana.csr -signkey grafana.key -out grafana.crt
You should see output like this:

Step 4 – Set certificate key file ownership
From the command line type:
sudo chown grafana:grafana grafana.crt
sudo chown grafana:grafana grafana.key
sudo chmod 400 grafana.key grafana.crt
Step 5 – Move certificate and key file to the Grafana installation folder
From the command line type:
sudo mv grafana.crt grafana.key /etc/grafana/
Step 6 – Edit the Grafana.ini file
From the command line type:
sudo vim /etc/grafana/grafana.ini- Locate the #HTTP options. Set the properties as:
protocol = https
cert_key = /etc/grafana/grafana.key
cert_file = /etc/grafana/grafana.crt
- Save and close the file, and now restart the grafana service
sudo service grafana-server restart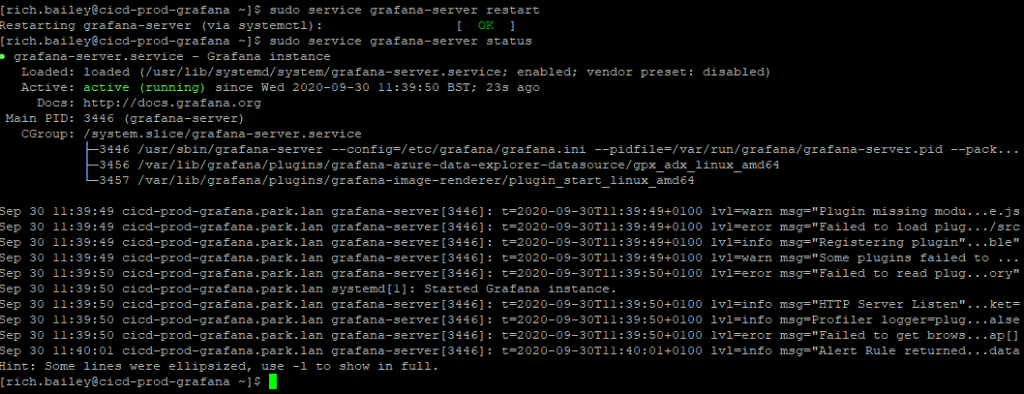
Step 7 – Browse to the server IP
Now browse to the server IP address and you should be prompted with a warning. As this is a Self Signed Certificate, you will be prompted once like this:
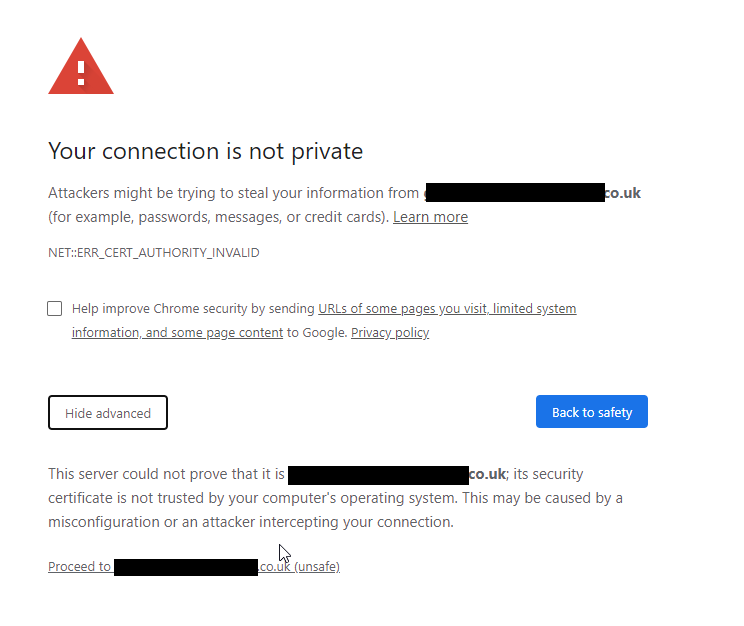
Note: You will always have to accept this prompt (only once) unless you have purchased a Signed Certificate from a certificate authority vendor such as https://www.digicert.com/
Want to know how to put certs on a Grafana container and how to make a Grafana container be HTTPS? Simply run docker exec -it container name /bin/bash and follow the same procedure above.
That’s it, thanks for taking the time to read this article. if you have any questions or feedback please write in the comment section below.